
One of the many advantages of living in the south is good friends with gardens who love to share!!! Yes, we have a garden but nothing like one of our family friends. They live on land full of fruit trees and have gardens full of vegetables and herbs. This week, they harvested pears! Our friends were so nice and asked us if we would take some off their hands for them. I was MORE than thrilled!! Nothing better than fresh fruit and figuring out new things to do with it to make it last.

So I knew I wanted to make preserves but I had WAY more pears than I knew what to do with. Then my mind went to chutney. It is such a good fall and winter condiment that will go with everything from toast to meats! So today I am going to show you how I made my preserves and tomorrow I will teach you how to make the chutney!!
Hope you enjoy!
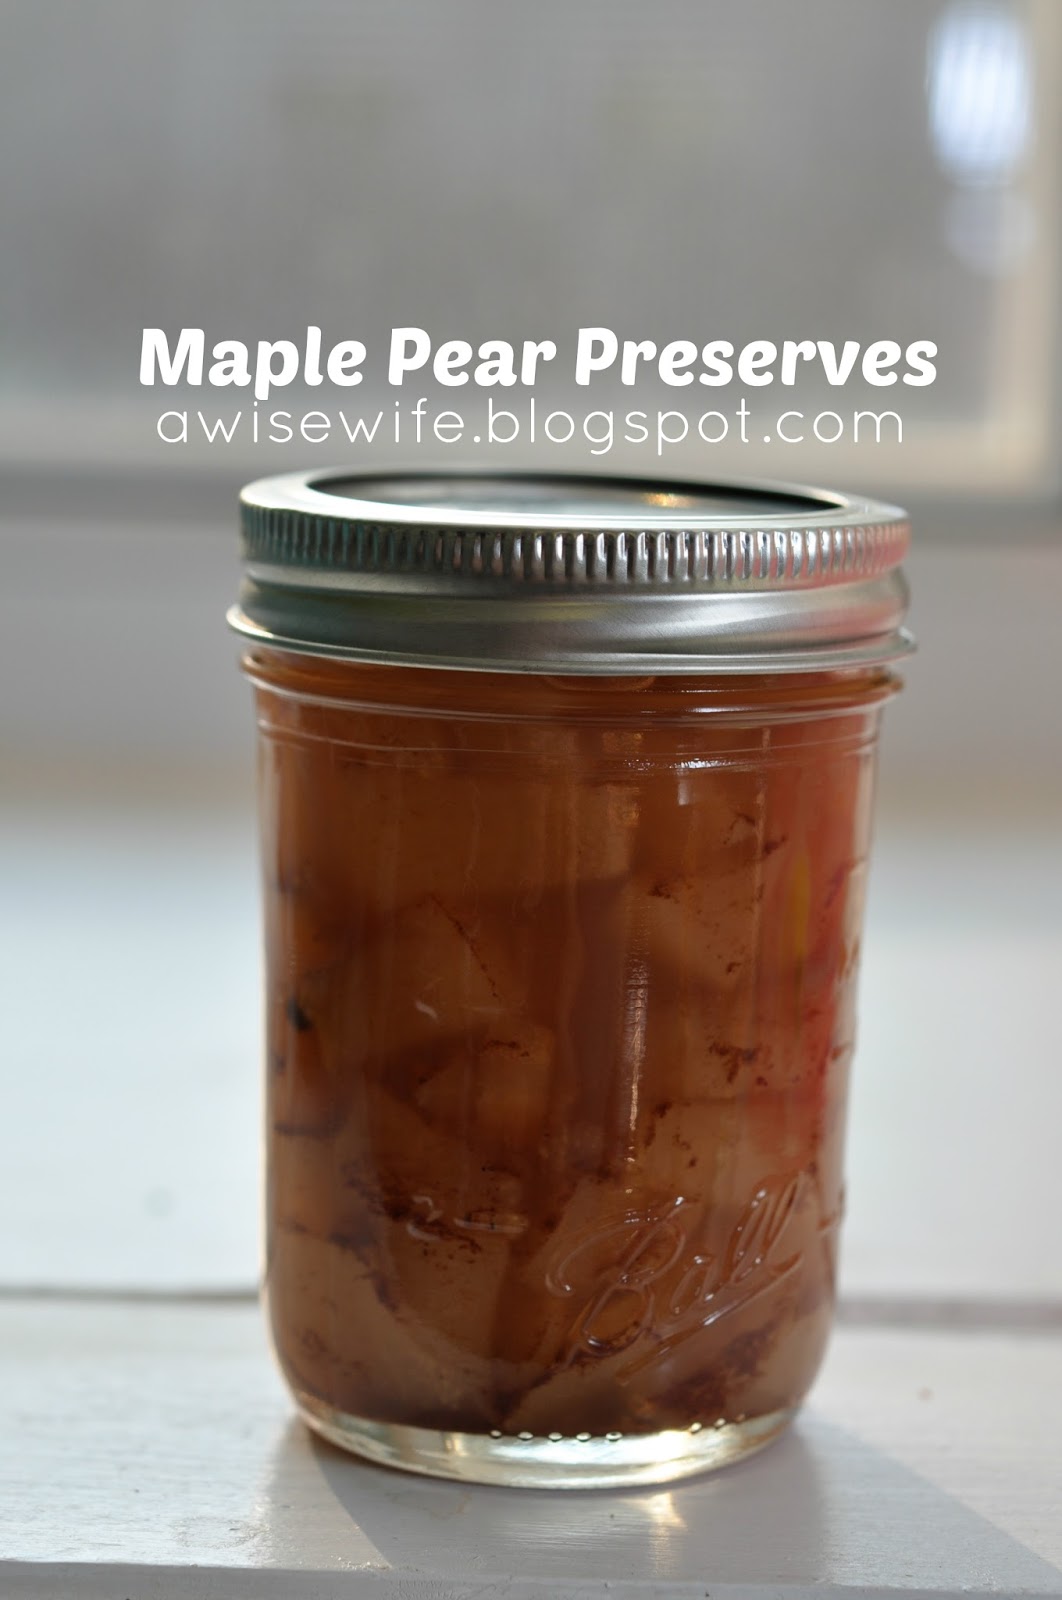
Maple Pear Preserves
Ingredients:
12 pears
1 cup maple syrup
5 T lemon juice
2 tsp ground cinnamon
1/2 tsp cloves
2 1/2 cups water
2 1/2 cups water
If you plan on canning the preserves, your first step is to pop those half pint jars in the dish washer and wash using your light wash setting. This is the simplest way to sterilize the jars. Leave the jars in the dish washer so they stay warm and are ready to go when you need them.

If you don't have time to run through the dish washer, just wash them with soap and HOT water. Then fill the sink up with hot water and leave the jars in there until you are ready to use them.

Wash and Peel your pears.

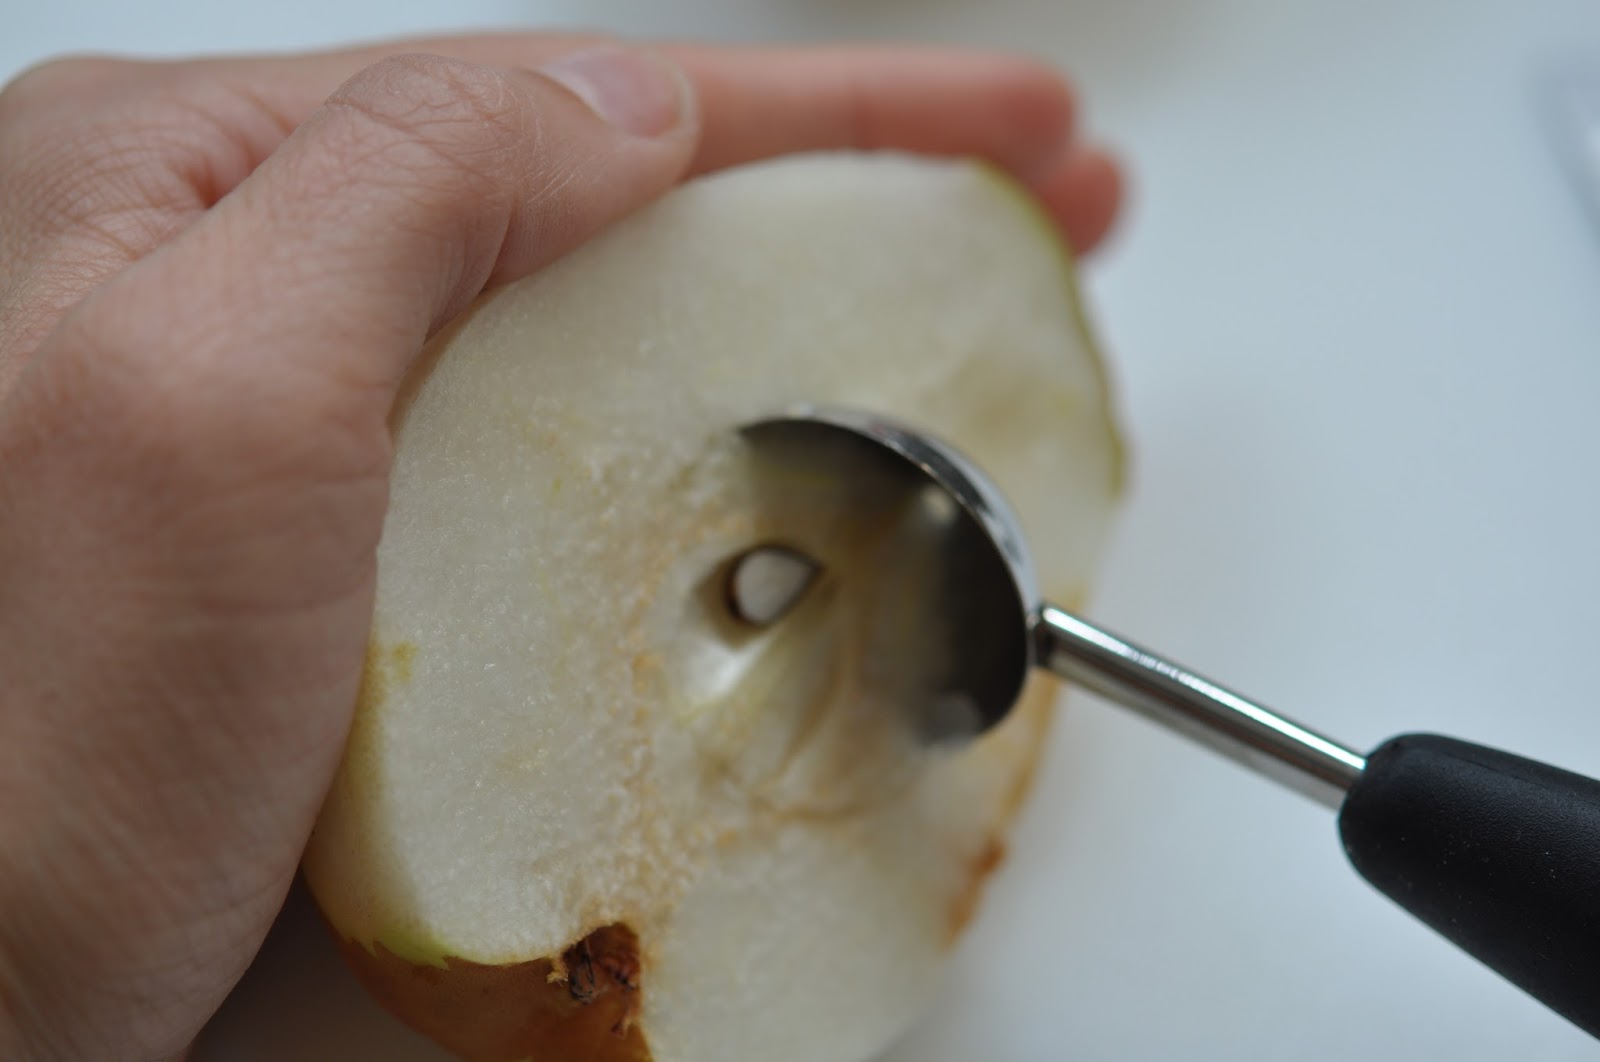
Here is the easiest way I know to get the pears cored. Cut in half lengthwise.


Here is the easiest way I know to get the pears cored. Cut in half lengthwise.

Using a melon baller, scoop out the core and seeds. If you don't have a melon baller, you can use a spoon but it wont be quite as easy.


Yup thats it! Easy huh? Now dice up the pears into bite size pieces. As you are dicing the pears, go ahead and add the lemon juice to prevent from browning. I add the pears into my large pot as I go so there is one less pot to clean!

Add in the remaining ingredients.


Stir together.

Cover and bring to boil for 20 minutes or until the pears are slightly translucent.

Remove the pear mixture from heat. Scoop the preserves into the canning jars, leaving 1/4 inch space in the top of the jar. I also have a funnel that fits perfectly into the jars. I bought a canning kit for a few bucks at the grocery and it has made things so much easier!

Using a non metal option. Scrape down the sides of the jars. (this was also in my canning kit)

Place the lids on and screw tightly. Process in a water bath for 5 minutes. If you have never canned before and are wondering what the heck a water bath is. Here you go!
Fill a deep pot up with water and bring to a boil. They make special water bath pots, but I have yet to get one so I use my largest pot. I put a rag on the bottom of the pot to prevent to jars from rattling into each other.


Once the water boils, place your jars full of the pear preserves into the water.

Let boil for 5 Minutes. There must be at least 1 inch of water over the top of the jars. Carefully remove the jars. I have a hand dandy jar remover that came in my kit, but you can use tongs but be SUPER careful.

Place the jars on a rag on the counter and allow them to sit there for 24 hours undisturbed. After about a minute or so, you should start to here the tops popping. That means they are sealed! If you do not hear a pop within an hour, it is not sealed. That jar should be placed in the fridge and used within the next 6 months.

Once you allow them to sit for 24 hours, they are good to go in your pantry for use all year long!
Hope you enjoy!!
Thanks Y'all
- Wise Wife

Remove the pear mixture from heat. Scoop the preserves into the canning jars, leaving 1/4 inch space in the top of the jar. I also have a funnel that fits perfectly into the jars. I bought a canning kit for a few bucks at the grocery and it has made things so much easier!


Place the lids on and screw tightly. Process in a water bath for 5 minutes. If you have never canned before and are wondering what the heck a water bath is. Here you go!
Fill a deep pot up with water and bring to a boil. They make special water bath pots, but I have yet to get one so I use my largest pot. I put a rag on the bottom of the pot to prevent to jars from rattling into each other.


Once the water boils, place your jars full of the pear preserves into the water.

Let boil for 5 Minutes. There must be at least 1 inch of water over the top of the jars. Carefully remove the jars. I have a hand dandy jar remover that came in my kit, but you can use tongs but be SUPER careful.

Place the jars on a rag on the counter and allow them to sit there for 24 hours undisturbed. After about a minute or so, you should start to here the tops popping. That means they are sealed! If you do not hear a pop within an hour, it is not sealed. That jar should be placed in the fridge and used within the next 6 months.

Once you allow them to sit for 24 hours, they are good to go in your pantry for use all year long!
Hope you enjoy!!
Thanks Y'all
- Wise Wife
No comments:
Post a Comment