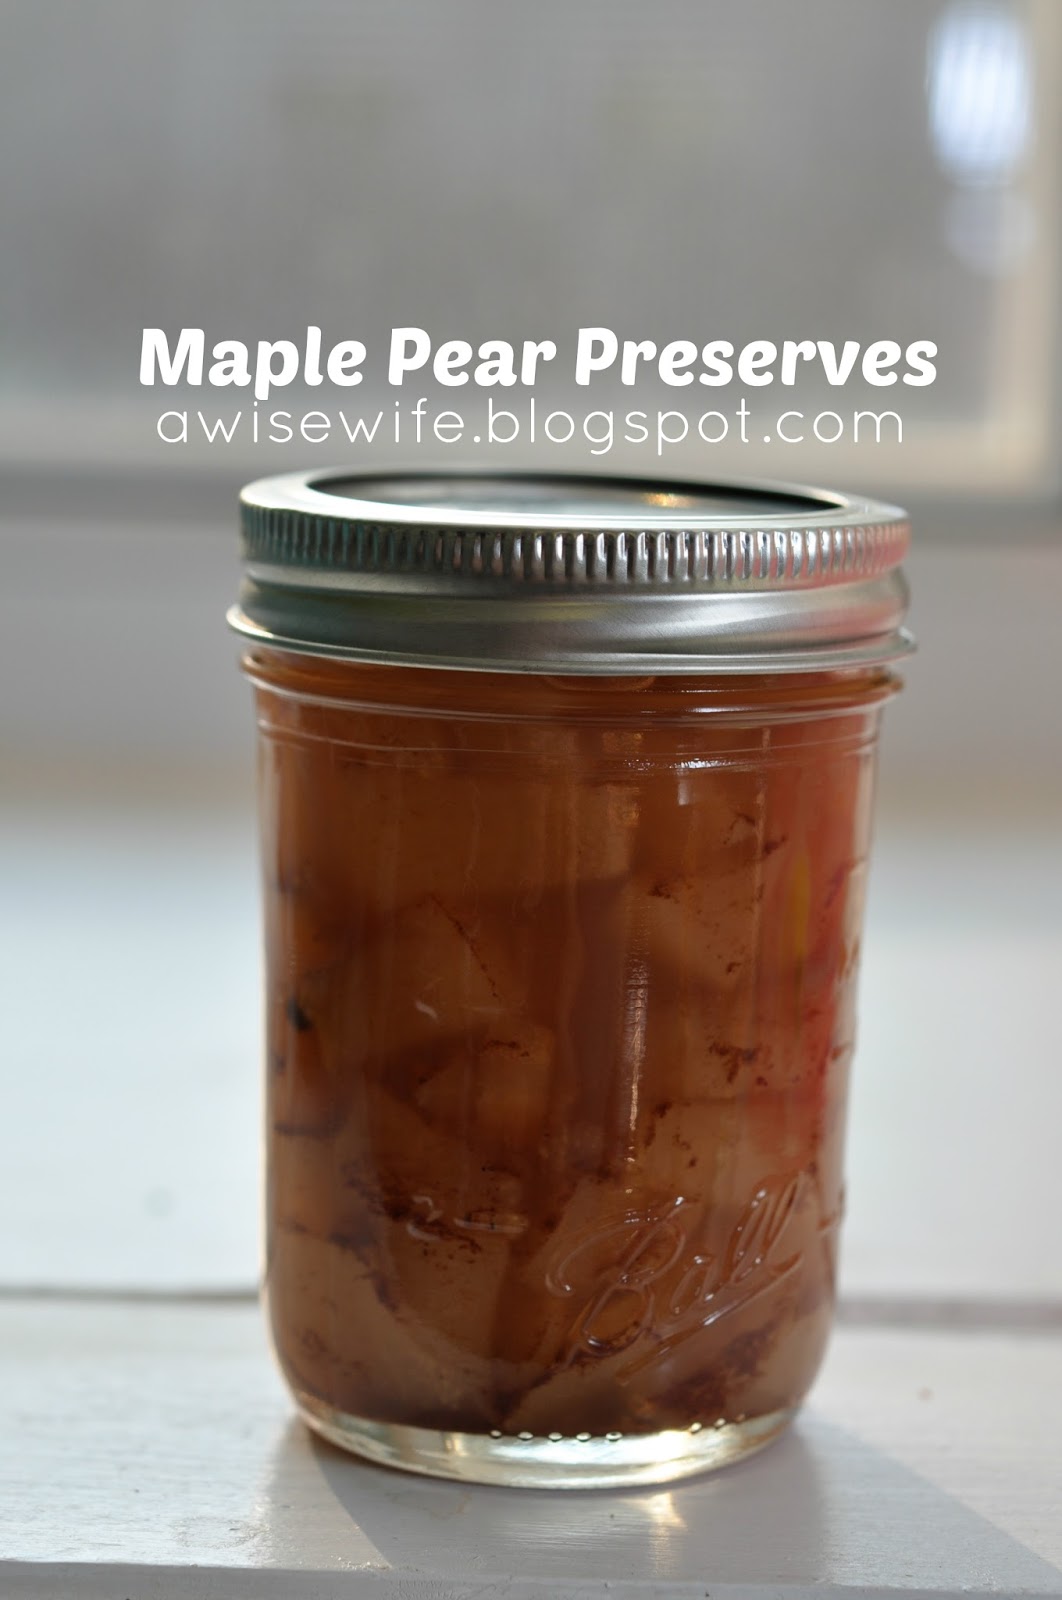
Once again, I have to thank Mrs. Cauthen for all of these AMAZING pears!! Today we are going to whip up some pear chutney to have on hand for the fall and winter! I really love to serve chutney with pork chops, tenderloin, chicken, shrimp, on sandwiches, with baked brie, honestly the opportunities are ENDLESS!! Now you see why I love chutney so much!
Because Mrs. Cauthen was so generous and gave me a massive bag of pears, I have also included a super easy jalapeño pear chow chow recipe. I just had so many pears I hat to keep cooking! :)
Pear Chutney

Ingredients:

This recipe makes 6 half pint jars.
Ingredients:
8 large pears
1 large onion
2 cloves garlic, minced
1 1/2 cup apple cider vinegar
2/3 cup light brown sugar
1/2 tsp ground mustard
1/2 tsp red pepper flakes
1/2 tsp sea salt
1/4 tsp ground black pepper
1 cup dried cherries
canning jars
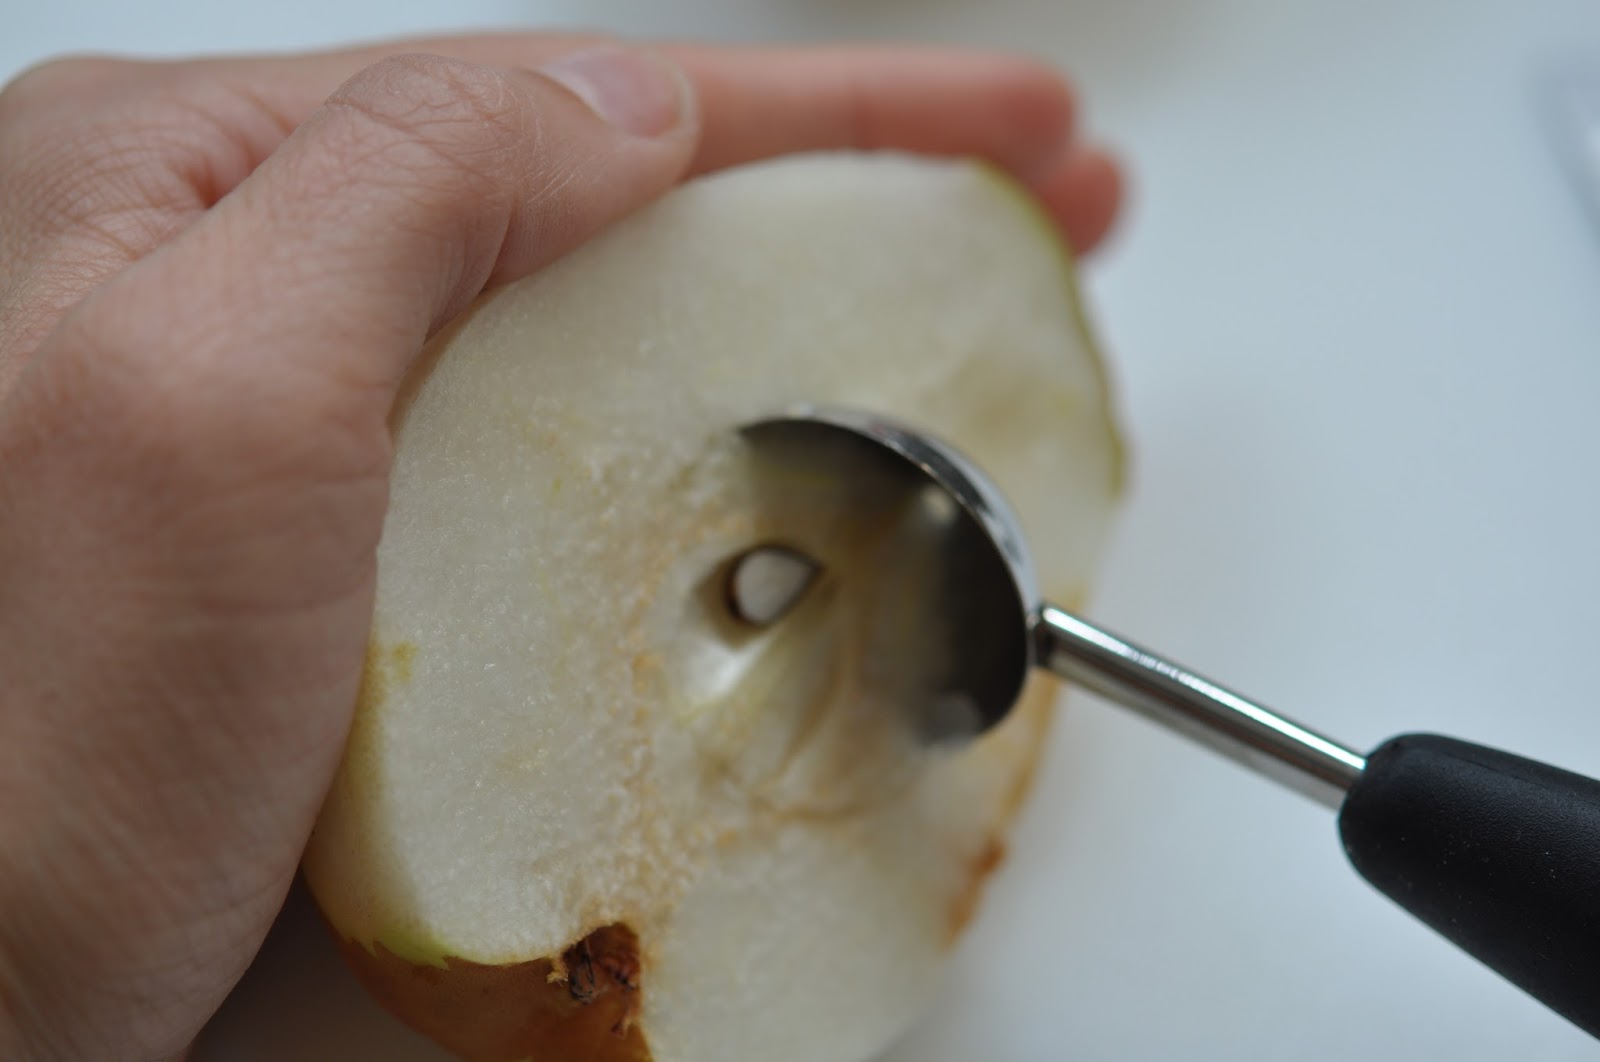
First things first. Peel, core, and dice your pears. Refer to the pear preserves post to see the easiest way to do this!

Go ahead and dice your onion.

Add all of your ingredients into a large pot and bring to a boil.

Once it begins to boil, cover and reduce the heat. Let simmer for 30 minutes.


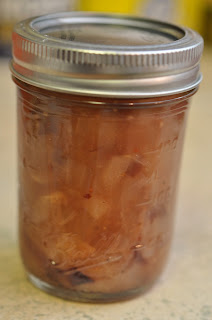
Process in a water bath for 5 minutes.

Let sit on counter for 24 hours undisturbed. Store in a cool dark place.
Jalapeño Pear Chow Chow

All I had on hand were larger quart sized jars, so thats what I went with. This recipe made almost 4 full quart sized jars.
Ingredients:


12 ripe pears
2 vidalia onions
3 green bell peppers
2 red bell peppers
1/2 cup jarred jalapeños
3 cups distilled white vinegar
3 cups sugar
about a tsp of salt
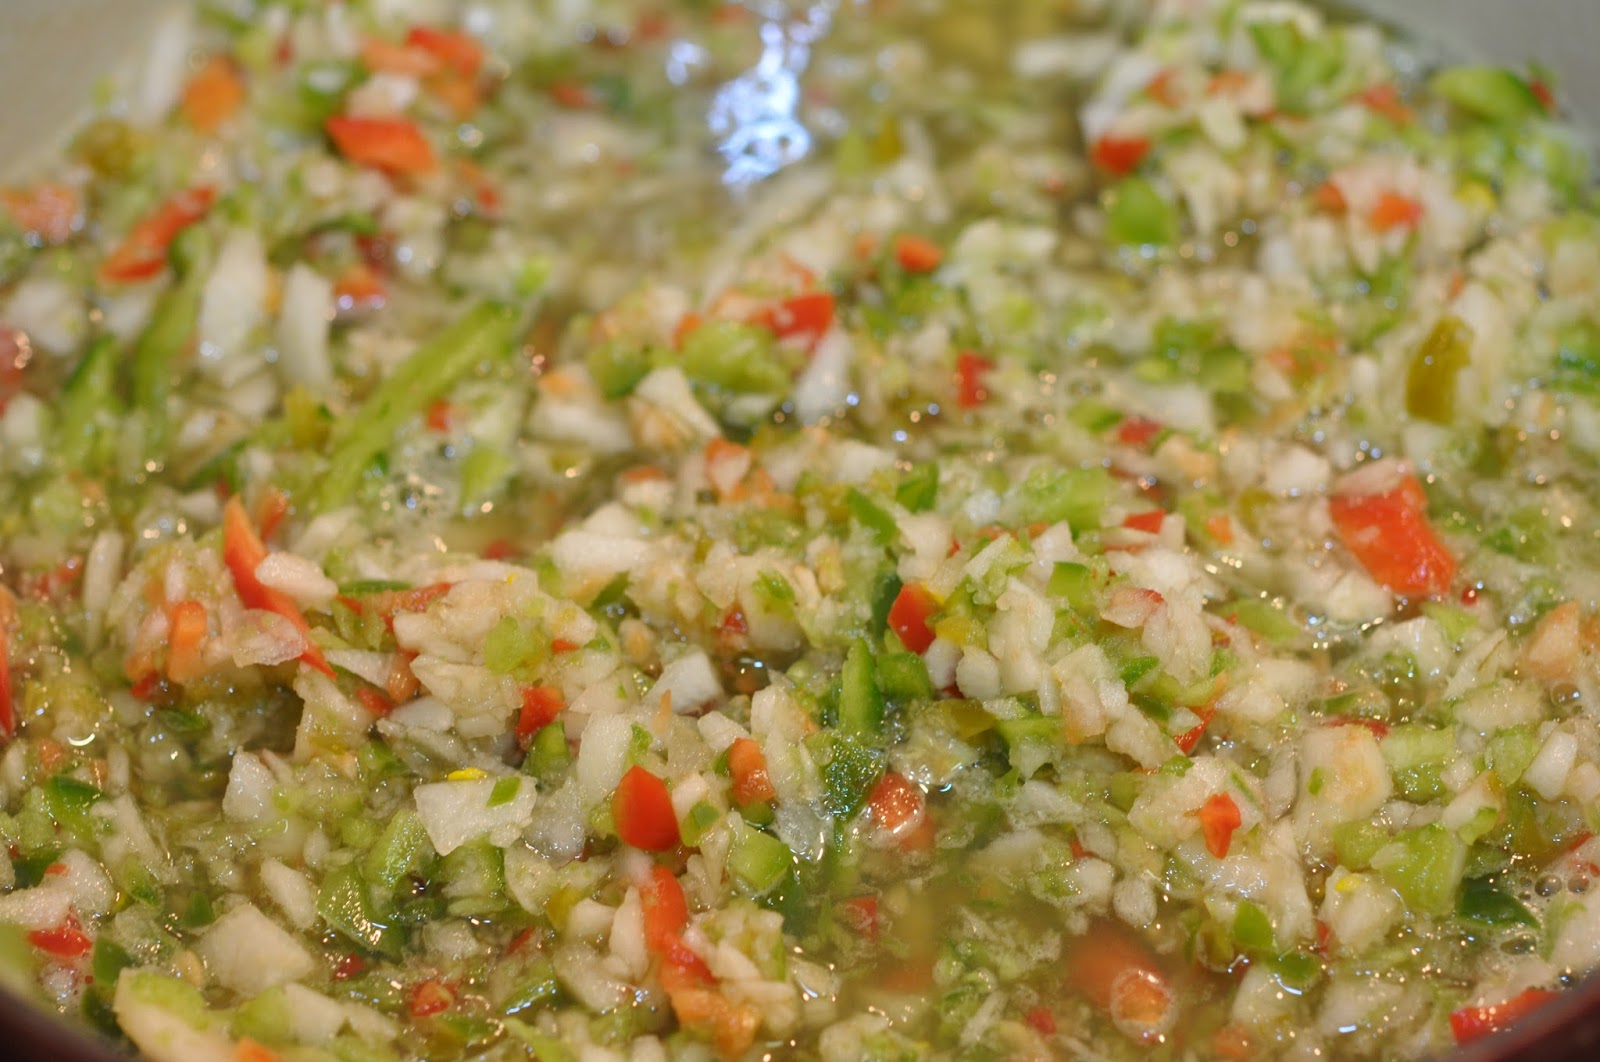
Peel and core your pears. In small batches, drop your pears into the food processor and pulse until finely chopped.

Cut your green bell peppers in half, removing stem and seeds.


Again in small batches, drop into food processor and pulse until finely chopped. Repeat this process with the red bell peppers, onions, and jalapeños.

Add all ingredients into a large dutch oven.

Stir to combine.

Cook over medium low heat for 45 minutes.

Pour into sterilized mason jars and add seals and screw on lids. Process in water bath for 10 minutes. Let sit on counter for 24 hours, undisturbed.

That's it! I hope you enjoy all of these wonderful pear recipes all because of the wonderful donation of pears from the Cauthen Family!
Thanks Y'all!
-Wise Wife

Ingredients:

This recipe makes 6 half pint jars.
Ingredients:
8 large pears
1 large onion
2 cloves garlic, minced
1 1/2 cup apple cider vinegar
2/3 cup light brown sugar
1/2 tsp ground mustard
1/2 tsp red pepper flakes
1/2 tsp sea salt
1/4 tsp ground black pepper
1 cup dried cherries
canning jars
First things first. Peel, core, and dice your pears. Refer to the pear preserves post to see the easiest way to do this!

Go ahead and dice your onion.

Add all of your ingredients into a large pot and bring to a boil.

Once it begins to boil, cover and reduce the heat. Let simmer for 30 minutes.

Remove the lid and continue to cook for another 30 minutes. Stirring occasionally.

Fill canning jars, leaving 1/4 inch room to expand on top. Cover with seal ands crew on lid.

Process in a water bath for 5 minutes.

Let sit on counter for 24 hours undisturbed. Store in a cool dark place.

Jalapeño Pear Chow Chow

All I had on hand were larger quart sized jars, so thats what I went with. This recipe made almost 4 full quart sized jars.
Ingredients:


12 ripe pears
2 vidalia onions
3 green bell peppers
2 red bell peppers
1/2 cup jarred jalapeños
3 cups distilled white vinegar
3 cups sugar
about a tsp of salt
Peel and core your pears. In small batches, drop your pears into the food processor and pulse until finely chopped.

Cut your green bell peppers in half, removing stem and seeds.


Again in small batches, drop into food processor and pulse until finely chopped. Repeat this process with the red bell peppers, onions, and jalapeños.

Add all ingredients into a large dutch oven.

Stir to combine.
Cook over medium low heat for 45 minutes.

Pour into sterilized mason jars and add seals and screw on lids. Process in water bath for 10 minutes. Let sit on counter for 24 hours, undisturbed.

That's it! I hope you enjoy all of these wonderful pear recipes all because of the wonderful donation of pears from the Cauthen Family!
Thanks Y'all!
-Wise Wife