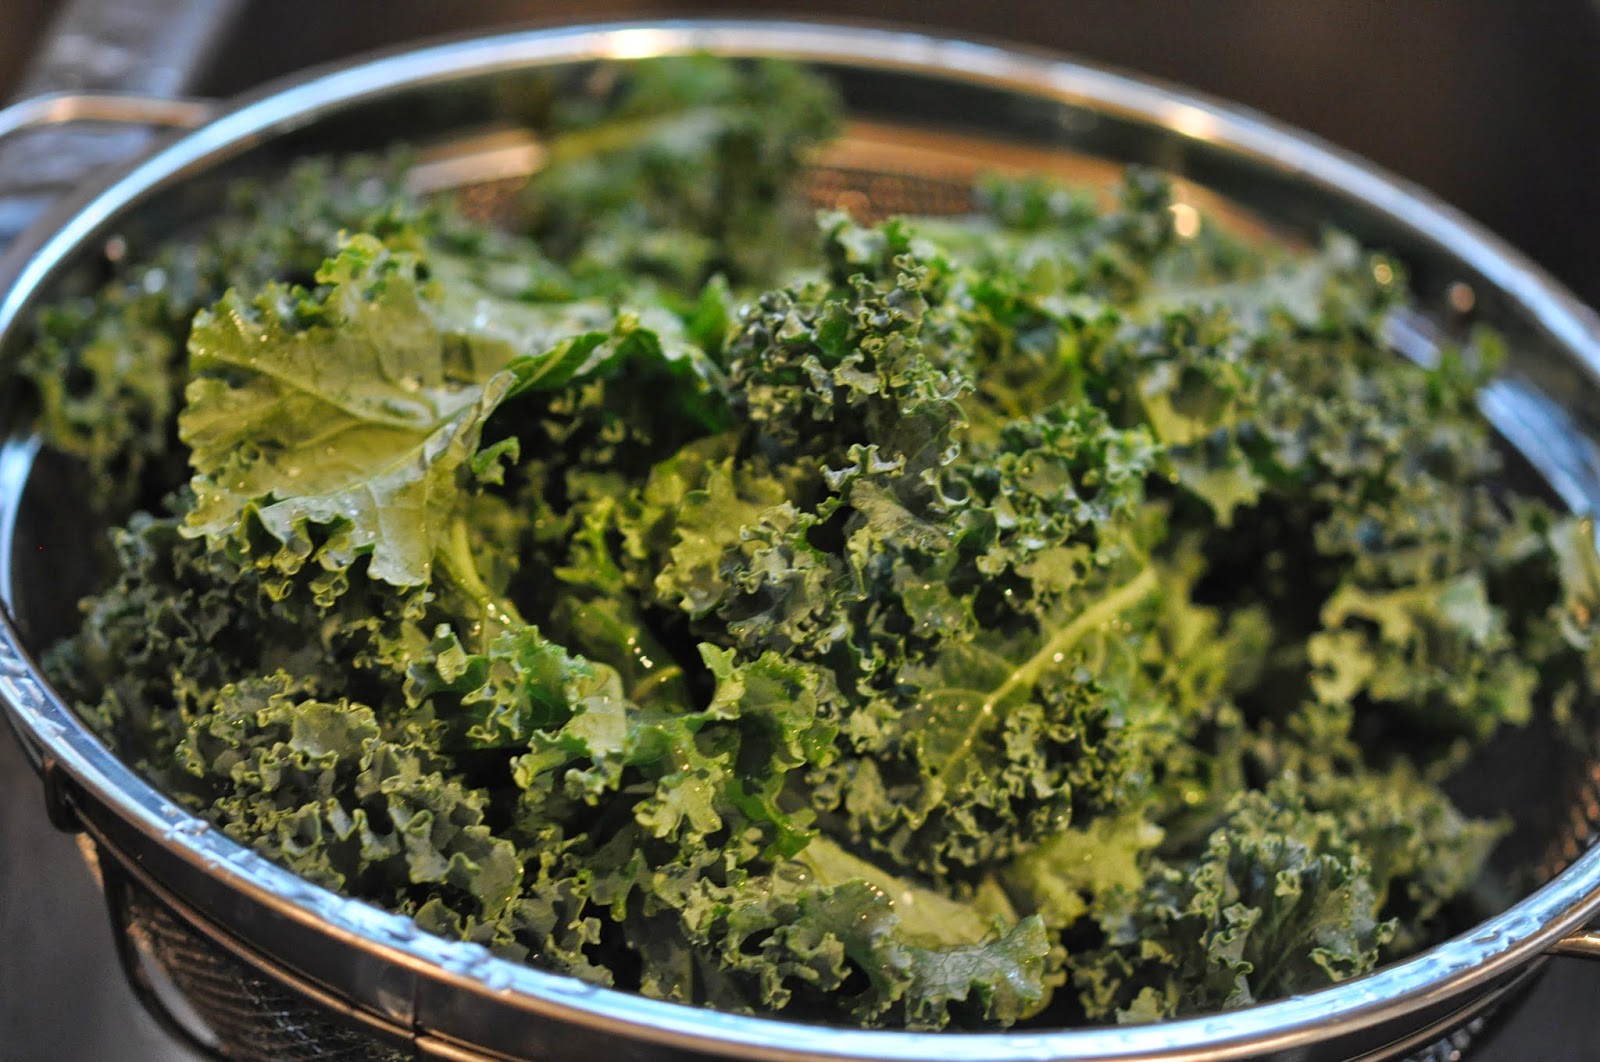
As often as I can, I purchase my produce from local or state farmer's markets. You always know it is fresh and at the same time support our local farmers. They have wonderful life stories and are genuinely happy when you want to buy their products. We are lucky enough to have a farmers market every single day. However, my favorite market is only Tuesday, Thursday, and Friday. I try to hit that one as often as I can, but of course I don't always make it there. I am very thankful for my backup framer's market!
This week I came across some beautiful green tomatoes and I knew they had to go home with me.
I decided right away that we would turn these beauties into fried green tomatoes. I have all of the ingredients on hand so it was super easy to throw together. Also, I was able to use another one of my farm fresh eggs because of course they make everything better!
Lets get to frying!
Gluten Free, Fried Green Tomatoes
Ingredients:
2 large green tomatoes
1 /2 cups almond flour
1 t salt, divided
1/2 t freshly ground pepper
1 fresh egg
2 T cold water
canola oil for frying (or coconut oil if you prefer)
What to do:
Slice your tomatoes about 1/4 of an inch thick.
Lay out on a paper towel and sprinkle with salt.
Lay another paper towel on top. This process removes some of the excess water so the batter will stick better. Don't skip this step!!
Add oil into a skillet, I prefer cast iron for frying. Pour about 1/8 inch of oil into the pan. Heat the oil to 375°.
While your oil is heating up, add almond flour, 1/2 t salt, and pepper, into a shallow baking dish.
Mix together.
In another small dish, add your egg and cold water and scramble together.
Once your oil is ready to fry, dredge your tomato one slice at a time into the egg wash.

Straight from the egg wash, transfer the tomato into the almond flour mixture and completely cover the tomato.
Place right into the hot oil.
Fry for about 3 minutes per side, or until golden brown.
Remove from the oil and place on a paper towel covered plate to drain the extra oil.
That's it!! Hope you love them!
Thanks Y'all!
-Wise Wife
This week I came across some beautiful green tomatoes and I knew they had to go home with me.
I decided right away that we would turn these beauties into fried green tomatoes. I have all of the ingredients on hand so it was super easy to throw together. Also, I was able to use another one of my farm fresh eggs because of course they make everything better!
Lets get to frying!
Gluten Free, Fried Green Tomatoes
Ingredients:
2 large green tomatoes
1 /2 cups almond flour
1 t salt, divided
1/2 t freshly ground pepper
1 fresh egg
2 T cold water
canola oil for frying (or coconut oil if you prefer)
What to do:
Slice your tomatoes about 1/4 of an inch thick.
Lay out on a paper towel and sprinkle with salt.
Lay another paper towel on top. This process removes some of the excess water so the batter will stick better. Don't skip this step!!
Add oil into a skillet, I prefer cast iron for frying. Pour about 1/8 inch of oil into the pan. Heat the oil to 375°.
While your oil is heating up, add almond flour, 1/2 t salt, and pepper, into a shallow baking dish.
Mix together.
In another small dish, add your egg and cold water and scramble together.
Once your oil is ready to fry, dredge your tomato one slice at a time into the egg wash.

Straight from the egg wash, transfer the tomato into the almond flour mixture and completely cover the tomato.
Place right into the hot oil.
Fry for about 3 minutes per side, or until golden brown.
That's it!! Hope you love them!
Thanks Y'all!
-Wise Wife


