Okay y'all are going to LOVE today's post! Well I mean, I hope you do, because I think this may be one of my favorite things I have ever made.
Remember my friends that love to share their yummy fruits and vegetables they grow? Well they have pulled through again. They dropped off a huge bag of farm fresh pears and I can't stop thinking about all of the yummy things I can make! My first thought was sorbet. I have had sorbet on my mind for a few weeks now as an old friend of mine mentioned how she would love to see a recipe for sorbet show up on the blog. I have finally listened! I created a pomegranate, pear sorbet so I can use some of these delicious fresh pears from the farm.
Remember my friends that love to share their yummy fruits and vegetables they grow? Well they have pulled through again. They dropped off a huge bag of farm fresh pears and I can't stop thinking about all of the yummy things I can make! My first thought was sorbet. I have had sorbet on my mind for a few weeks now as an old friend of mine mentioned how she would love to see a recipe for sorbet show up on the blog. I have finally listened! I created a pomegranate, pear sorbet so I can use some of these delicious fresh pears from the farm.
Sorbet is super easy, especially if you have an ice-cream maker. I make sorbet often because I absolutely love it! I don't have much of a sweet tooth, but when I do, sorbet is what I crave. I guess it is because it is dairy free :).
For this recipe, I use Pom Pomegranate juice. If you have another brand you love, go with that one. Pom just happened to be my favorite. Pomegranate juice is full of antioxidants and potassium. You guessed it, Pom juice is GF!!
I use a Cuisinart ice cream/sorbet maker like this one. However, any type will work!
Printable Recipe Here!
Pomegranate Pear Sorbet
GF/DF
Ingredients:
1 cup Pom Juice
1 cup water
3/4 cup sugar
2 T fresh lemon juice
1 pound ripe pears (4-5 pears depending on size)
a pinch of sea salt
What to do:
Peel and core pears. I have an apple slicer that works perfectly for coring apples/pears.
Dice your pears and set aside.
Add Pom juice, water, and sugar together in a medium sauce pan.
Bring to a slight boil, stirring until sugar is dissolved.
Carefully add in your pear chunks and stir together.
Bring back up to a boil and allow to cook for about 10 minutes, or until the pears soften.
Transfer mixture to a food processor and add in salt and lemon juice. Process until smooth. This should only take a few minutes.
Once move, transfer to a bowl and allow to completely come to room temperature. Don't rush this step!
Once at room temperature, cover and place in fridge for 3 hours or up to overnight.
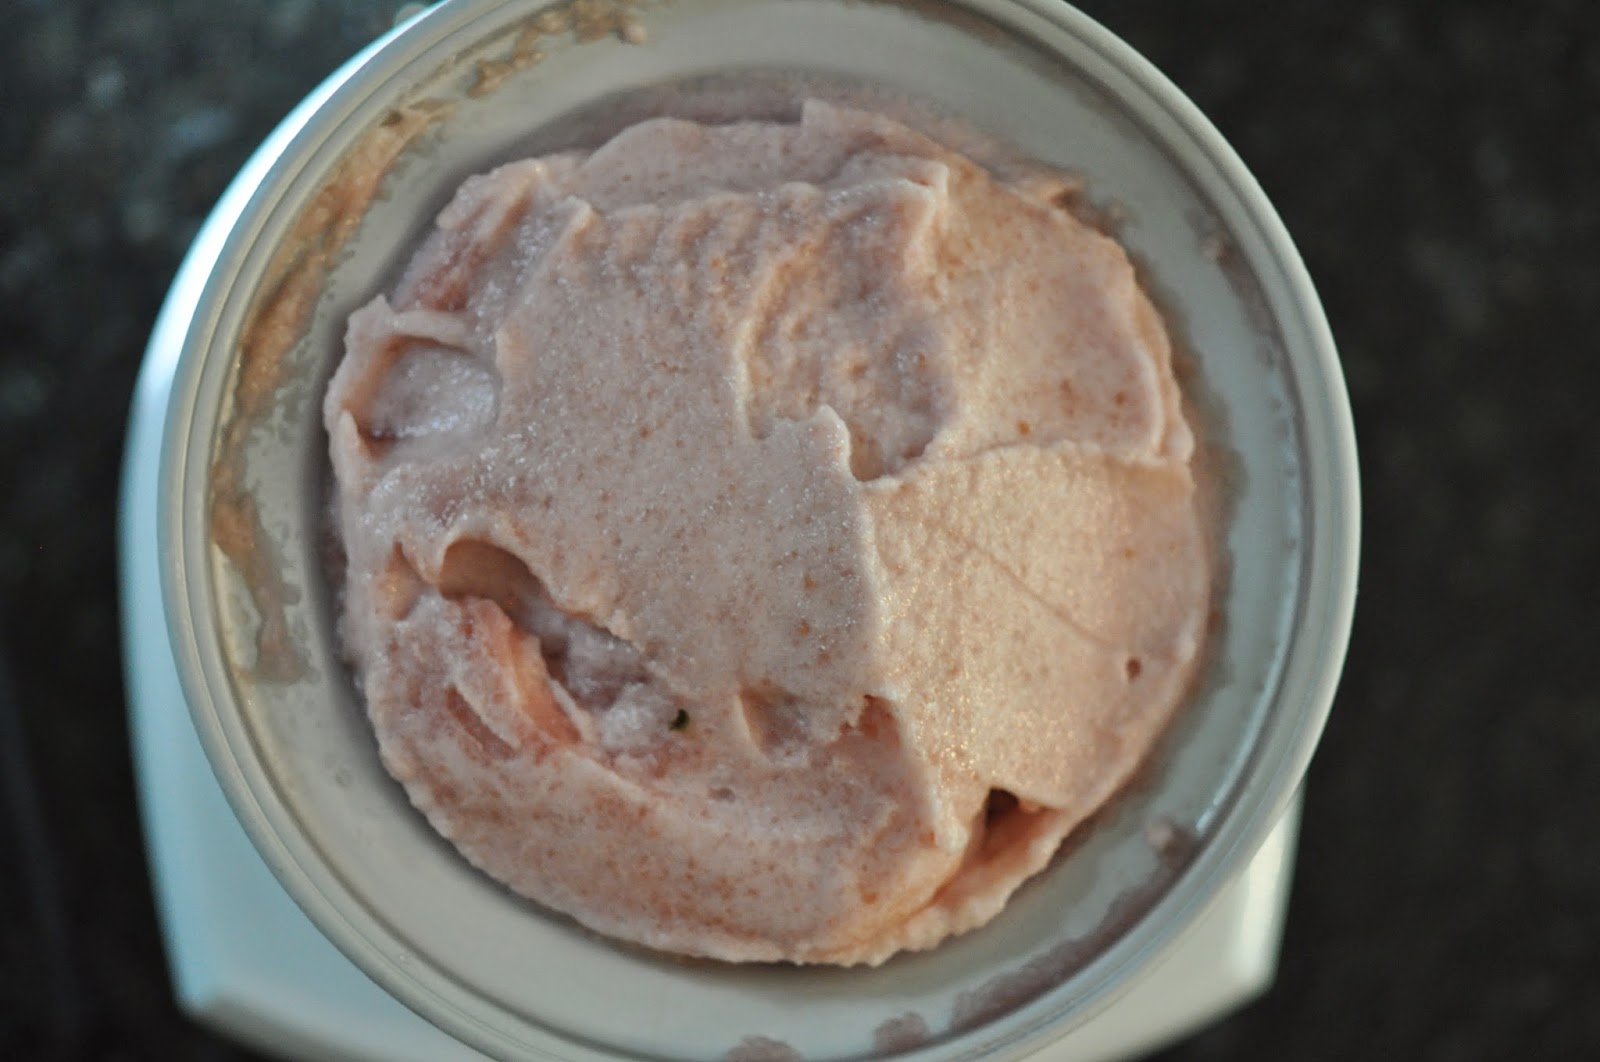
Once chilled, transfer mixture to ice cream maker and process for 25-30 minutes. The mixture should be smooth but slightly firm.
Okay, now it is time! Grab a spoon and taste away! Store in freezer.
Thanks Y'all!
-Wise Wife
For this recipe, I use Pom Pomegranate juice. If you have another brand you love, go with that one. Pom just happened to be my favorite. Pomegranate juice is full of antioxidants and potassium. You guessed it, Pom juice is GF!!
I use a Cuisinart ice cream/sorbet maker like this one. However, any type will work!
Printable Recipe Here!
Pomegranate Pear Sorbet
GF/DF
Ingredients:
1 cup Pom Juice
1 cup water
3/4 cup sugar
2 T fresh lemon juice
1 pound ripe pears (4-5 pears depending on size)
a pinch of sea salt
What to do:
Peel and core pears. I have an apple slicer that works perfectly for coring apples/pears.
Add Pom juice, water, and sugar together in a medium sauce pan.
Bring to a slight boil, stirring until sugar is dissolved.
Carefully add in your pear chunks and stir together.
Bring back up to a boil and allow to cook for about 10 minutes, or until the pears soften.
Transfer mixture to a food processor and add in salt and lemon juice. Process until smooth. This should only take a few minutes.
Once move, transfer to a bowl and allow to completely come to room temperature. Don't rush this step!
Once at room temperature, cover and place in fridge for 3 hours or up to overnight.
Once chilled, transfer mixture to ice cream maker and process for 25-30 minutes. The mixture should be smooth but slightly firm.
Okay, now it is time! Grab a spoon and taste away! Store in freezer.
Thanks Y'all!
-Wise Wife


