Showing posts with label dessert. Show all posts

Monday, September 29, 2014

Pomegranate Pear Sorbet

Okay y'all are going to LOVE today's post! Well I mean, I hope you do, because I think this may be one of my favorite things I have ever made.

Remember my friends that love to share their yummy fruits and vegetables they grow? Well they have pulled through again. They dropped off a huge bag of farm fresh pears and I can't stop thinking about all of the yummy things I can make! My first thought was sorbet. I have had sorbet on my mind for a few weeks now as an old friend of mine mentioned how she would love to see a recipe for sorbet show up on the blog. I have finally listened! I created a pomegranate, pear sorbet so I can use some of these delicious fresh pears from the farm.


Sorbet is super easy, especially if you have an ice-cream maker. I make sorbet often because I absolutely love it! I don't have much of a sweet tooth, but when I do, sorbet is what I crave. I guess it is because it is dairy free :).

For this recipe, I use Pom Pomegranate juice. If you have another brand you love, go with that one. Pom just happened to be my favorite. Pomegranate juice is full of antioxidants and potassium. You guessed it, Pom juice is GF!!

I use a Cuisinart ice cream/sorbet maker like this one. However, any type will work!

Printable Recipe Here!

Pomegranate Pear Sorbet
GF/DF

Ingredients:
1 cup Pom Juice
1 cup water
3/4 cup sugar
2 T fresh lemon juice
1 pound ripe pears (4-5 pears depending on size)
a pinch of sea salt

What to do:

Peel and core pears. I have an apple slicer that works perfectly for coring apples/pears.


Dice your pears and set aside.

Add Pom juice, water, and sugar together in a medium sauce pan.

Bring to a slight boil, stirring until sugar is dissolved.

Carefully add in your pear chunks and stir together.


Bring back up to a boil and allow to cook for about 10 minutes, or until the pears soften.

Transfer mixture to a food processor and add in salt and lemon juice. Process until smooth. This should only take a few minutes.


Once move, transfer to a bowl and allow to completely come to room temperature. Don't rush this step!

Once at room temperature, cover and place in fridge for 3 hours or up to overnight.

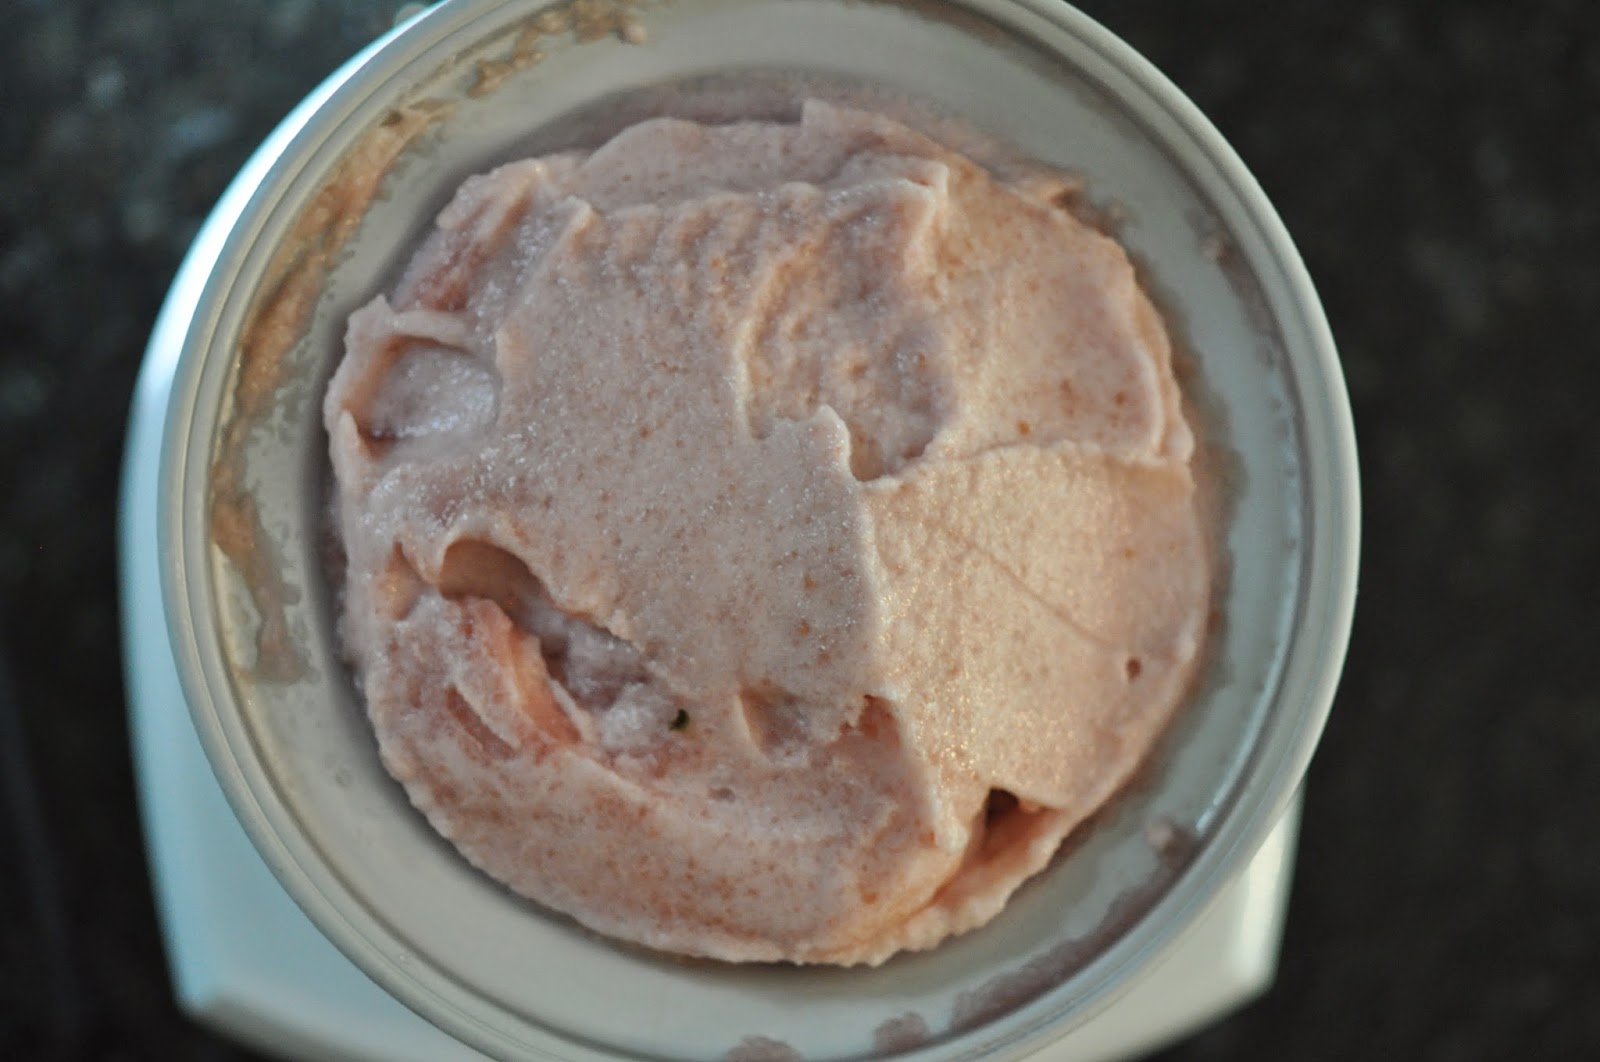
Once chilled, transfer mixture to ice cream maker and process for 25-30 minutes. The mixture should be smooth but slightly firm.


Okay, now it is time! Grab a spoon and taste away! Store in freezer.

Thanks Y'all!
-Wise Wife

Monday, September 1, 2014

Healthier Blondie Brownie Bars

Happy Labor Day!!! I can't believe it is already September. Where has this year gone? It is still hot and muggy although Hubs swears fall is coming soon. I was perusing the internet the other day and I came across a dessert recipe where they had substituted chick peas in for the butter and flour. Hello!! Why haven't I thought of that? That is the easiest gluten free/dairy free substation there is! Of course I had to give it a try.

Why Garbanzo beans/chick peas? They are full of fiber, iron, and vitamins and are a great source for protein. Hubs said for "healthy brownies" they are good. Got to love his honesty. 

I guess this is my contribution to our "labor day" festivities (although Hubs and I have no plans). When I told Hubs we were having dessert, he got quite excited! I just don't bake that much as I feel you have to follow baking recipes much more closely and can't add in your personal touch. Not with this recipe!! This is a dump it all in and its fantastic brownie bar recipe. You could even had chopped pecans or coconut if you wanted to change it up a bit. Even non bakers can bake these suckers!

One thing I discovered quickly, it is best to line your baking dish with parchment paper before you add the batter. Doing this ensures the brownies won't get stuck to the pan and can be removed easily. Also, I used chunky almond butter because that is what I always have on hand. Feel free to substitute smooth if that is what lives in your pantry. 

Add a scoop of your favorite "ice cream" and these little fellas will just melt in your mouth without ruining your healthy eating habits. Hey, we have to satisfy that sweet tooth somehow! These take a while to cook, but trust me, it is worth the continual "are they ready yet" comments from the peanut gallery. Also, I find it is best to make these the day before. I like to let them cool on the rack, and then let them sit, covered, overnight before I cut them into squares. 

What do you say we whip up some brownies and impress your friends and family?


Healthier Blondie Brownie Bars
GF/DF

Ingredients:

1 can chickpeas
1/2 cup almond butter 
3/4 cup maple syrup
2 t pure vanilla extract
1/4 t baking powder
1/4 t baking soda
1/4 t sea salt
1 cup DF/GF chocolate chips (I used Enjoy Life mini chips)

What to do:

Preheat oven to 350°.

Line a loaf pan or small baking dish with parchment paper.

Drain and rinse your chickpeas.

Add chickpeas into food processor or blender.

Add almond butter, maple syrup, vanilla, baking powder, baking soda, and salt into the food processor as well.

Process the batter until smooth. This shouldn't take longer than a minute.

Stir in about 3/4 cup of your chocolate chips.

Pour the batter into the parchment lined baking dish.

Sprinkle the remaining chips on top.

Bake for about an hour. I know this seems like a long time, but trust me, it takes a while for these bad boys to set. You make think they are done, they probably aren't! Make sure a toothpick inserted into the center comes out clean.


Remove from the oven and allow to cool in the dish for about 10 minutes.

Grab the edges of the parchment paper and remove the blondies from your baking dish and place on a cooling rack.

Allow to cool for about 30 minutes. If you are making these the night before, cover and allow to sit overnight before moving on. Cut into squares and grab a fork!

Thanks Y'all!
-Wise WIfe 

Friday, July 18, 2014

Tiramisu

Sorry the posts have been slim this week. Hubs has been out of town so I took a break from the kitchen. Because Hubs will be returning from a business trip today, I wanted to have something special waiting for him. His favorite dessert is tiramisu. I can't stand the taste of coffee and don't eat dairy, so needless to say, tiramisu is not my dessert of choice.
For those who may not know, tiramisu is a traditional Italian dessert made up of lady fingers, coffee, custard, and a little bit of chocolate. After researching several different recipes, I have come up with one I think he will enjoy. Let me preface this by saying it is CHOCKED FULL of dairy and gluten. Sorry allergy readers, but this one is strictly for the Hubs and those of you out there who are lucky enough to enjoy these wonderful ingredients. 


Lady fingers can be a little tricky to find in the off season, but check the frozen section of your grocery!

So here goes nothing! Printable Recipe Here!

Tiramisu 

Ingredients:

15 oz ladyfingers, store bought or homemade
10 oz mascarpone cheese
3 eggs
6 T sugar
about 4 cups warm coffee or espresso
semi sweet chocolate bar
about 4 T unsweetened cocoa 

What to do:

Take your mascarpone cheese out of the fridge. 

Grab a 9 x 13 Baking dish that you want to store the tiramisu in. This is my favorite dish to take to potlucks. That way, when the food is gone, the host knows exactly who it belongs to. 

Grabbing two or three lady fingers at a time, dip one side of your lady finger into the coffee.


Flip the lady finger over and dip the other side.

Immediately place the lady fingers into the baking dish. Cover the entire bottom of the dish with coffee dipped lady fingers. The bottom layer should use a little less than 1/3 of your lady fingers.

Separate the egg yolks from the egg whites. The yolks should go into a large bowl, and the whites until a medium bowl.

Using a hand mixer, mix the yolks while slowly adding in the sugar. Beat until the mixture is very stiff and the yolks are pal in color.


Carefully fold the mascarpone cheese into the egg sugar mixture. 


In a separate bowl, beat the egg whites until very stiff.


Gently fold your beaten egg whites into the mascarpone cheese mixture. 


Pour 1/3 of the cheese mixture on top of the lady fingers. Using a spatula, spread the cheese mixture evenly. 

Repeat the process twice more of dipping your lady fingers in the the coffee, layering them on the dessert, and then adding an additional layer of the cheese mixture. You will end with the cheese mixture.

You should end up with 3 repeating layers. Once you finish with the top mascarpone layer, Sprinkle with the cocoa powder. You can use a sifter for this process. If you don't have a sifter, Add your cocoa into a mesh strainer and tap the side with the palm of your hand to create that dusted look. 


Using a vegetable peeler, create chocolate shavings from your semi-sweet chocolate bar and sprinkle on top of your dessert. I actually like to shave them directly on top of the dessert.


Cover and allow to chill for at least 2 hours before you enjoy. I like to make this the night before to allow the flavors to marry better.

Hope you enjoy! Thanks y'all!
-Wise Wife