Monday, September 15, 2014

Spinach and Turkey Frittata

I know how good eggs are for you, they just don't fancy my tastebuds. The only way I can have them is when something else is served with them/mixed in them. I can do eggs with avocado which is YUM, omelets, and frittatas. I had kind of forgotten how deliciously easy frittatas are. They are an easy way to hide veggies, and for me, a way to hide eggs within veggies :) .  


What is wonderful about this recipe is you can add in any veggies you want. This is a great breakfast recipe, or a breakfast for dinner option. If you are a vegetarian, no problem! Just leave out the ground turkey. However, you will need to add olive oil to your pan before you sauté your veggies.


While I was cooking, Hubs came in from the garden and said, "Hey, can we toss a jalapeño in there?" Brilliant that one is.  You are welcome to leave the jalapeño out, but it adds the certain amount of spice and flavor.

Lets get to the frittata. Printable recipe here!!

Spinach and Turkey Frittata
GF/DF

Ingredients:

1/2 white onion
1 bell pepper (I went with orange)
1 pound lean ground turkey
2 cloves garlic
1 jalapeño 
6 eggs
1/4 t paprika
1/2 t celery salt
1/4 t freshly ground black pepper
4 cups fresh spinach

What to do:

Preheat your oven to 450°.

Finely dice your onion.

Finely dice your bell pepper.

Mince your garlic. 

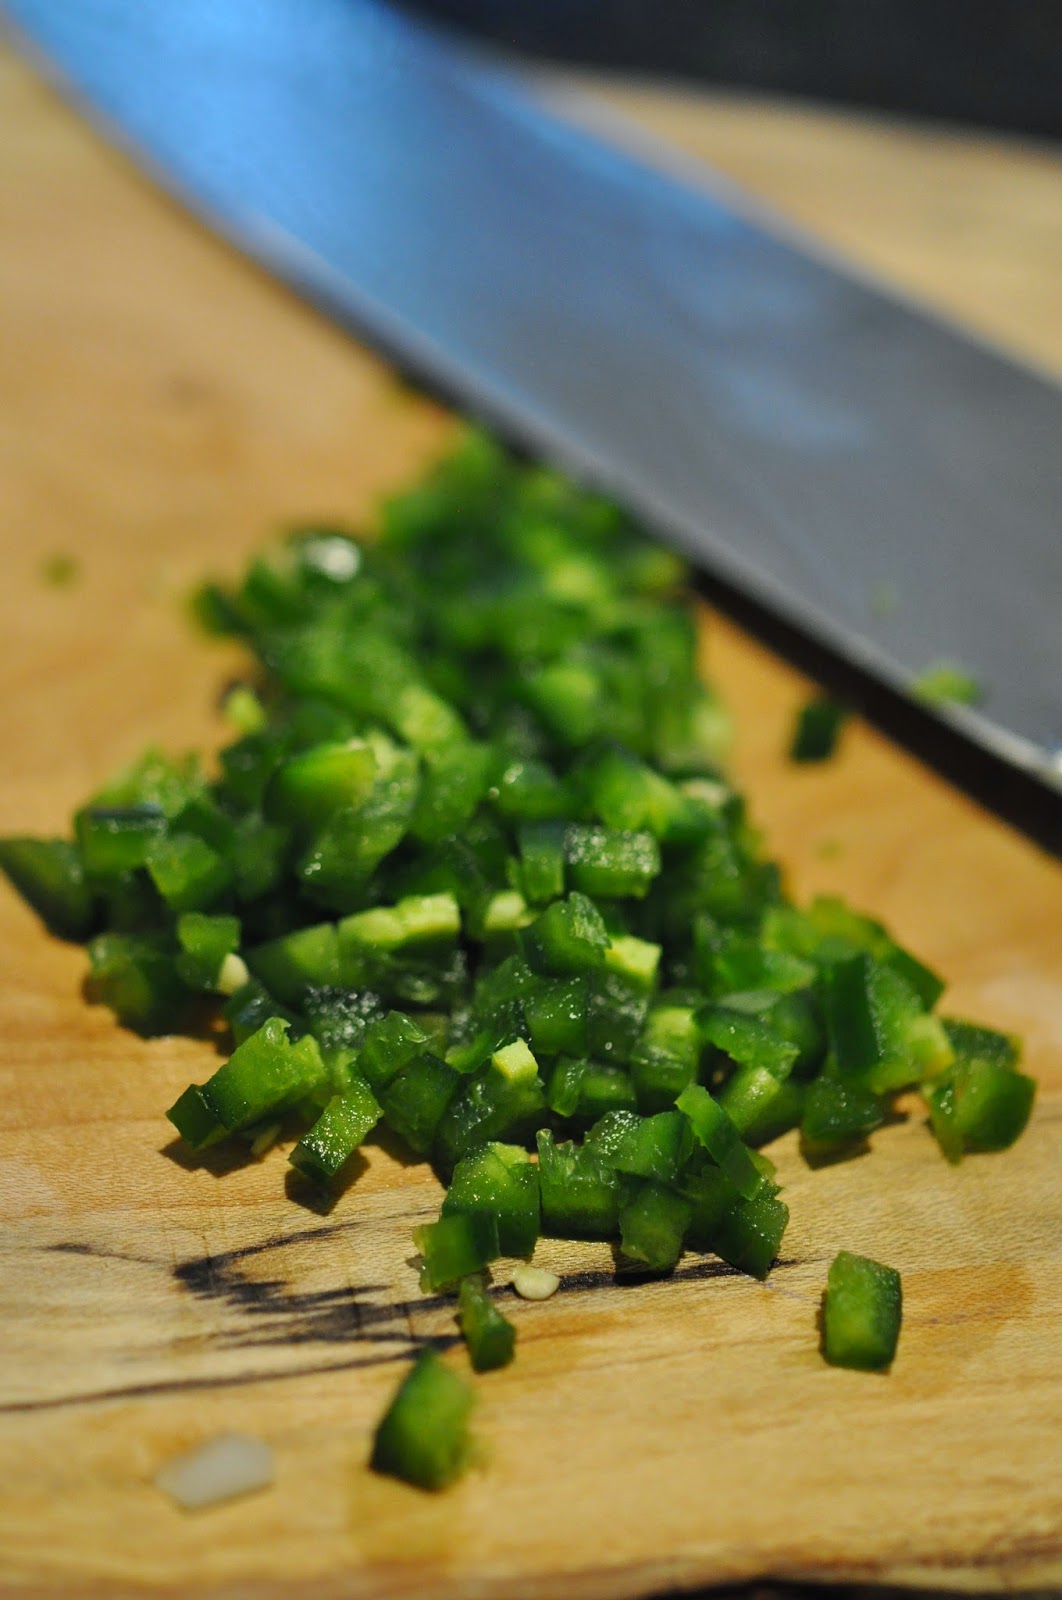
Remove the seeds and stem from the jalapeño and then finely dice.


Add your ground turkey into a large, oven proof skillet. I prefer to use cast iron.

Using a wooden spoon, break up the meat and cook until almost 3/4 completely cooked.

While your meat is cooking, add eggs into a medium bowl. 

Scramble well and then add in the paprika, celery salt, and black pepper. 


Stir it all together.

Once your meat is cooked, add your onions, peppers, and garlic into the skillet and stir.


Cook until the onions are slightly translucent and the meat is fully cooked. 

Add in your spinach and allow to wilt. This will take less than a minute. Stir everything together.


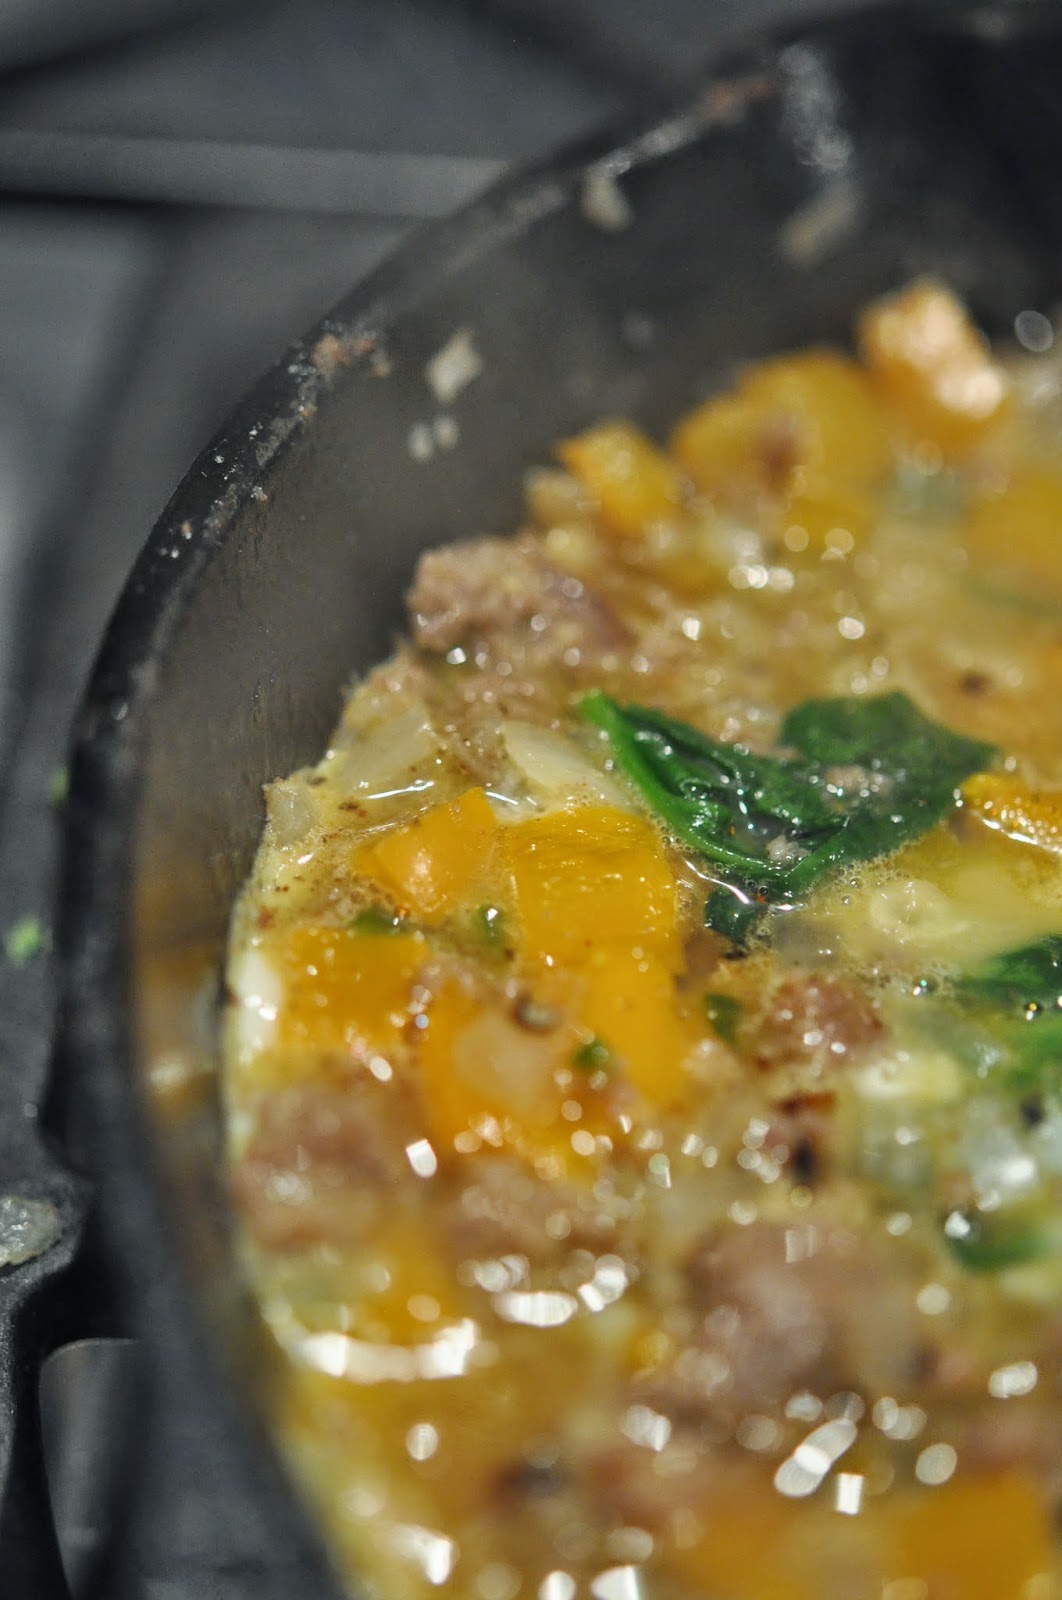
Add in your egg mixture and spread evenly over your meat and veggies. 

Allow the mixture to cook on the stove top just until the try edges are set and become white. 

Carefully transfer your skillet to the preheated oven. REMEMBER THE SKILLET IS HOT!!

Allow the frittata to bake until the eggs are completely set, about 30 minutes. 

Remove from the oven and enjoy!! If you want, you can always add a little salsa on top. 

Thanks Y'all!
- Wise Wife 


Tuesday, September 9, 2014

Chicken Caesar Pasta Bake

Well, I am glad you came back to check out what I created with my Caesar dressing. I promise, you will not be let down!! If you haven't picked up on it yet, Hubs and I both love pasta. It is such a go to for us and I am always trying to create new recipes to keep our tastebuds happy. So why not use Caesar dressing in a pasta dish? Sounds delicious to me! The dressing doesn't overpower the pasta, just creates a creamy taste, without heavy creams and butter. 

If you don't have time to make my homemade Caesar dressing, you can always grab some store bought, just check the label for your food allergy needs.

You have the easy options of making this recipe gluten free and dairy free or not. If you are looking for a gluten free recipe, use GF pasta and my GF/DF Caesar Dressing! In my recipe, I use Daiya "Mozzarella Cheese." However, if you are lucky enough and get to enjoy the real deal mozzarella cheese, by all means substitute that deliciousness in! But hey, I think Daiya is more delicious.. just saying :) 

This is another super easy recipe. If you are short on time, grab a rotisserie chicken and use the breast meat in place of cooking your own. 

Lets make some pasta!! Printable Recipe Here!

Chicken Caesar Pasta Bake
GF/DF

Ingredients:

8 oz penne pasta
2 boneless skinless chicken breast
1 T olive oil 
1/4 t onion powder
1/4 t garlic powder
1/4 t salt
1/2 cup chicken broth 
1 can black olives
1 batch creamy caesar dressing (recipe here) or 1 cup store bought dressing
1 cup Daiya or mozzarella cheese

What to do:

Cooking your pasta according to package directions. Drain and return to the cooking pot.

While your pasta is cooking, preheat oven to 350° and get your chicken ready. Dice into bite sized pieces.


Heat olive oil over medium head in medium size pan.

Add in your chicken and sprinkle with onion powder, garlic powder, and salt. 

Sauté until cooked through, about 7 minutes. 

Drain your black olives.

Once your pasta is cooked and drain, add cooked chicken, chicken broth, olives, caesar dressing, and cheese into the pot with the pasta.

Give everything a stir and add to a medium size baking dish.


Bake for about 20 minutes, or until cheese is bubbly and pasta is heated through. 


Enjoy! Thanks Y'all!
-Wise Wife 

Monday, September 8, 2014

Homemade Creamy Caesar Dressing

A few weeks ago Hubs mentioned that Caesar dressing was his favorite. I have had that on my mind ever since and decided I would surprise him today and whip up some homemade Caesar dressing for him to enjoy.

This recipe is so easy and can be stored in the fridge for about a week. I always store my dressings and sauces in mason jars because they are easy, inexpensive, and are clear so you can see what is in the jar without taking off the top. 


Of course, this dressing is delicious over a bed of greens with your favorite toppings, but I knew I couldn't just stop there. Check back here tomorrow to see what delicious dish I whipped up to utilize the Caesar dressing in a whole new way.

For today, I will share with you my gluten free, dairy free recipe for homemade Caesar dressing. 

This recipe calls for dijon mustard which all brands are not classified as gluten free. However, Annie's Organic Dijon Mustard is GF!! I also used mayonnaise in this recipe. I opted to use Hellman's with Olive oil because it is GF. However, you can always whip up your own!

Homemade Creamy Caesar Dressing
GF/DF

Ingredients:

1 cup mayo 
2 cloves garlic, skin removed
2 t dijon mustard
2 T lemon juice
1/2 t Worcestershire sauce
1/2 t black pepper
1 t sea salt

What to do:

Add your garlic cloves into a food processor. I like to use my mini food chopper for this recipe for the convenient size.

Pulse until the garlic is minced.

Add in the remaining ingredients.

Blend until everything is well combined. This will take no time at all!

Well my friends, that is it! You have just made homemade Caesear dressing. Store the dressing in an airtight container for up to a week in the fridge. 


Thanks Y'all!
-Wise Wife 

Monday, September 1, 2014

Healthier Blondie Brownie Bars

Happy Labor Day!!! I can't believe it is already September. Where has this year gone? It is still hot and muggy although Hubs swears fall is coming soon. I was perusing the internet the other day and I came across a dessert recipe where they had substituted chick peas in for the butter and flour. Hello!! Why haven't I thought of that? That is the easiest gluten free/dairy free substation there is! Of course I had to give it a try.

Why Garbanzo beans/chick peas? They are full of fiber, iron, and vitamins and are a great source for protein. Hubs said for "healthy brownies" they are good. Got to love his honesty. 

I guess this is my contribution to our "labor day" festivities (although Hubs and I have no plans). When I told Hubs we were having dessert, he got quite excited! I just don't bake that much as I feel you have to follow baking recipes much more closely and can't add in your personal touch. Not with this recipe!! This is a dump it all in and its fantastic brownie bar recipe. You could even had chopped pecans or coconut if you wanted to change it up a bit. Even non bakers can bake these suckers!

One thing I discovered quickly, it is best to line your baking dish with parchment paper before you add the batter. Doing this ensures the brownies won't get stuck to the pan and can be removed easily. Also, I used chunky almond butter because that is what I always have on hand. Feel free to substitute smooth if that is what lives in your pantry. 

Add a scoop of your favorite "ice cream" and these little fellas will just melt in your mouth without ruining your healthy eating habits. Hey, we have to satisfy that sweet tooth somehow! These take a while to cook, but trust me, it is worth the continual "are they ready yet" comments from the peanut gallery. Also, I find it is best to make these the day before. I like to let them cool on the rack, and then let them sit, covered, overnight before I cut them into squares. 

What do you say we whip up some brownies and impress your friends and family?


Healthier Blondie Brownie Bars
GF/DF

Ingredients:

1 can chickpeas
1/2 cup almond butter 
3/4 cup maple syrup
2 t pure vanilla extract
1/4 t baking powder
1/4 t baking soda
1/4 t sea salt
1 cup DF/GF chocolate chips (I used Enjoy Life mini chips)

What to do:

Preheat oven to 350°.

Line a loaf pan or small baking dish with parchment paper.

Drain and rinse your chickpeas.

Add chickpeas into food processor or blender.

Add almond butter, maple syrup, vanilla, baking powder, baking soda, and salt into the food processor as well.

Process the batter until smooth. This shouldn't take longer than a minute.

Stir in about 3/4 cup of your chocolate chips.

Pour the batter into the parchment lined baking dish.

Sprinkle the remaining chips on top.

Bake for about an hour. I know this seems like a long time, but trust me, it takes a while for these bad boys to set. You make think they are done, they probably aren't! Make sure a toothpick inserted into the center comes out clean.


Remove from the oven and allow to cool in the dish for about 10 minutes.

Grab the edges of the parchment paper and remove the blondies from your baking dish and place on a cooling rack.

Allow to cool for about 30 minutes. If you are making these the night before, cover and allow to sit overnight before moving on. Cut into squares and grab a fork!

Thanks Y'all!
-Wise WIfe